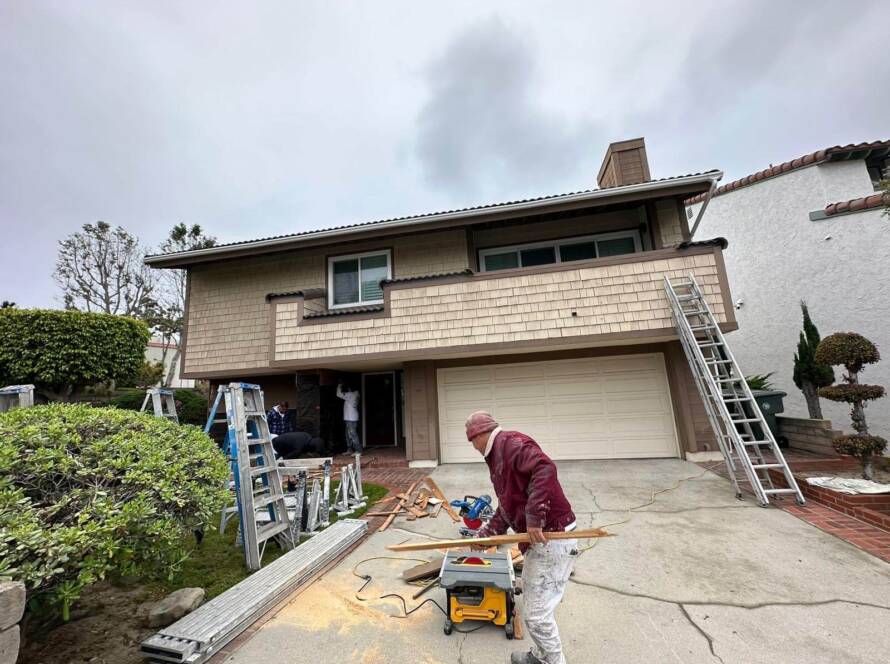
A fresh coat of paint can significantly enhance your home’s curb appeal and protect it from the elements. However, painting your home’s exterior isn’t a project that should be rushed. Preparation is key to ensuring that the paint adheres properly and lasts for years to come. Whether you’re tackling the job yourself or hiring professionals, here are the essential steps you need to take before painting your exterior.
Clean the Surface
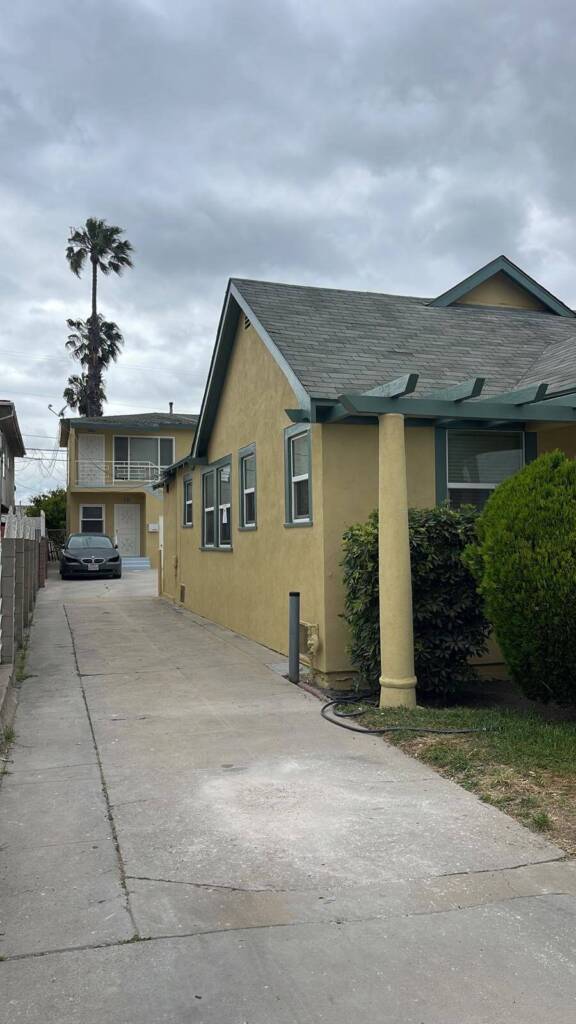
Before any paint touches your home’s exterior, the surface must be clean. Dirt, grime, mold, and mildew can prevent the paint from adhering properly and lead to peeling or flaking down the road. The most efficient way to clean your home’s exterior is by using a pressure washer. This powerful tool can remove years of built-up dirt and reveal a smooth surface for painting. However, be careful with the pressure settings to avoid damaging siding or wood. For areas that can’t be reached with a pressure washer, scrubbing by hand with a cleaning solution may be necessary.
Repair Damaged Areas
After your home is cleaned, inspect the exterior for any signs of damage. Look for cracks, holes, or rotting wood that will need to be repaired before painting. These imperfections can weaken the structure of your home and allow moisture to seep in, which will eventually damage the paint job. Patch holes, replace any rotten or damaged wood, and fill in cracks with caulk. Ensure that all repairs are completed and dry before proceeding with the painting process.
Scrape Off Loose Paint
If your current paint is peeling, bubbling, or flaking, it’s essential to remove these areas before applying a new coat. Use a paint scraper or a wire brush to gently scrape away any loose or peeling paint. Sand down rough edges to create a smooth surface, which will help the new paint adhere evenly. Failing to remove loose paint can cause the new coat to flake off prematurely, leading to more frequent touch-ups.
Sand the Surface
Sanding may seem like an unnecessary step, but it plays an essential role in achieving a professional finish. Sanding smooths out any remaining imperfections and provides a better surface for the new paint to stick to. It’s especially important for areas where the old paint has been scraped off or where repairs have been made. Focus on sanding down rough patches and edges, and wipe away any dust with a damp cloth before moving forward.
The more effort you put into surface preparation, the longer-lasting and more beautiful your paint job will be. Proper preparation is the foundation of any successful exterior painting project.
Protect Surrounding Areas
Painting can be messy, and the last thing you want is to splatter paint on your windows, landscaping, or outdoor furniture. Before you begin, take the time to cover areas that won’t be painted. Use painter’s tape to protect window frames, trim, and door handles. Drop cloths or plastic sheeting can be used to shield bushes, flowers, and walkways from accidental spills. Being diligent about protecting these areas will save you time and effort when the project is finished.
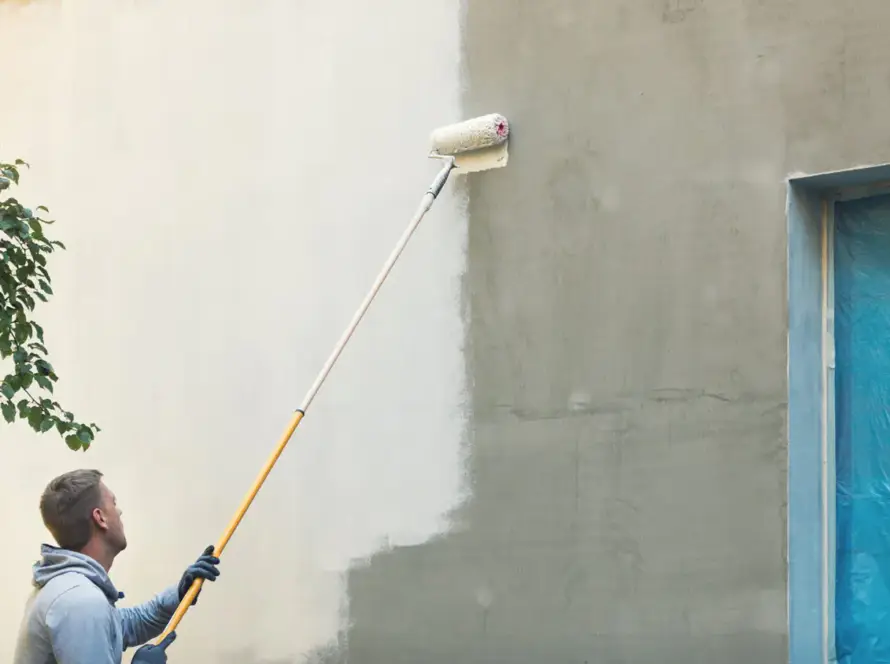
Prime the Surface
Applying a primer is a crucial step, especially if you’re painting over raw wood, metal, or a drastically different color. Primer helps the paint adhere better and provides an even base for the final coat. It also helps to block any stains or discolorations from seeping through the new paint. When selecting a primer, choose one that’s suitable for your home’s exterior materials, whether that’s wood, stucco, or brick. Allow the primer to fully dry before applying your first coat of paint.
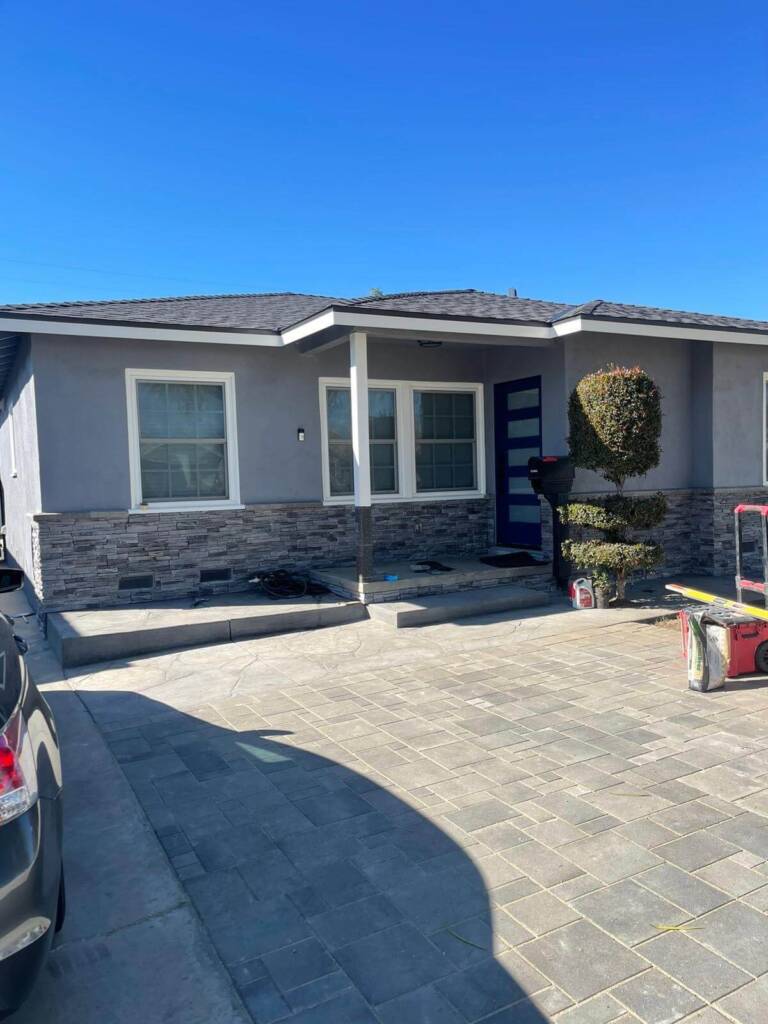
Choose the Right Paint
Exterior paint needs to withstand the sun, rain, wind, and fluctuating temperatures. It’s important to select a high-quality, weather-resistant paint specifically formulated for exterior surfaces. Consider the climate in your region when choosing paint, as some are better suited to withstand humidity or extreme heat. For longer-lasting results, opt for paint with UV protection to prevent fading over time.