Painting your home, whether interior or exterior, can breathe new life into your space. But a successful painting project depends on thorough preparation. Taking the time to properly prep your home before you begin painting will ensure a smooth, flawless finish and long-lasting results. Follow this step-by-step guide to make sure your home is ready for its makeover.
Step 1: Clear the Area
Before any painting begins, it’s essential to clear the area where you’ll be working. For interior projects, this means removing furniture, wall décor, and any other items that could get in the way or accidentally be splattered with paint. If moving furniture out of the room isn’t possible, push it to the center and cover it with drop cloths or plastic sheeting.
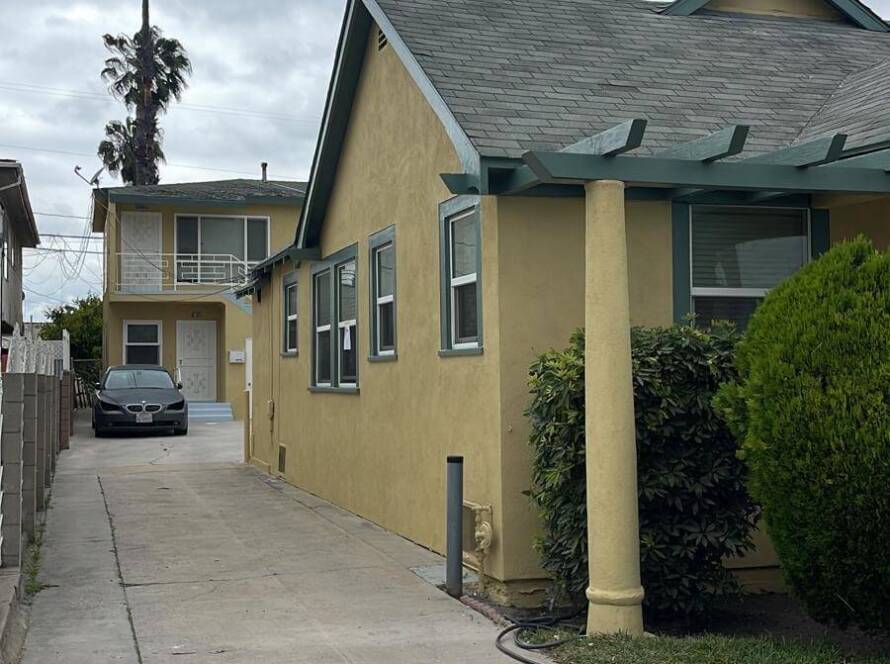
For exterior projects, make sure to move cars, outdoor furniture, and any other obstacles that might be near the walls you’re painting. Protect landscaping by covering shrubs, plants, and walkways with plastic sheeting or drop cloths. Clearing and covering the area reduces the risk of accidents and ensures you can work efficiently.
Step 2: Clean the Surfaces
Dirt, dust, and grime can prevent paint from adhering properly, which can cause peeling or flaking down the line. That’s why cleaning the surfaces you’ll be painting is a crucial step.
For interior walls, use a damp cloth or sponge to wipe away dust, cobwebs, and fingerprints. In kitchens and bathrooms, it’s important to remove grease and soap scum with a mild detergent solution.
If you’re painting the exterior of your home, consider using a pressure washer to remove dirt, mold, and mildew. Pay extra attention to areas that tend to collect grime, like gutters and the lower part of your home’s exterior. Allow the surface to fully dry before moving on to the next step.

Step 3: Repair and Patch Imperfections
After cleaning, take a close look at the surface for any cracks, holes, or other imperfections that need to be repaired. For interior walls, use spackling paste to fill in small holes from nails or other damage. For larger cracks or dents, apply a patching compound and sand it smooth once dry. Make sure to allow enough time for any repairs to fully set before painting.
After cleaning, take a close look at the surface for any cracks, holes, or other imperfections that need to be repaired. For interior walls, use spackling paste to fill in small holes from nails or other damage. For larger cracks or dents, apply a patching compound and sand it smooth once dry. Make sure to allow enough time for any repairs to fully set before painting.
Step 4: Sand the Surface
Sanding might seem like an optional step, but it’s critical for creating a smooth surface that the paint can adhere to evenly. For interior walls, lightly sand rough areas or spots where spackling was applied. Sanding is particularly important if you’re painting over glossy finishes, as it helps the new coat of paint bond with the old surface.
Proper preparation is the foundation of a long-lasting and beautiful paint job. Taking the time to clean, repair, and prime ensures the paint adheres perfectly, creating a smooth, professional finish that will stand the test of time.
Sanding might seem like an optional step, but it’s critical for creating a smooth surface that the paint can adhere to evenly. For interior walls, lightly sand rough areas or spots where spackling was applied. Sanding is particularly important if you’re painting over glossy finishes, as it helps the new coat of paint bond with the old surface.
Step 5: Apply Painter’s Tape and Protect Surrounding Areas
To achieve crisp, clean lines, use painter’s tape to mask off areas you don’t want painted, such as baseboards, window frames, and trim. For interior projects, tape off the edges of ceilings, doorframes, and around light switches or electrical outlets. Take the time to ensure the tape is securely adhered to avoid any paint bleeding underneath.
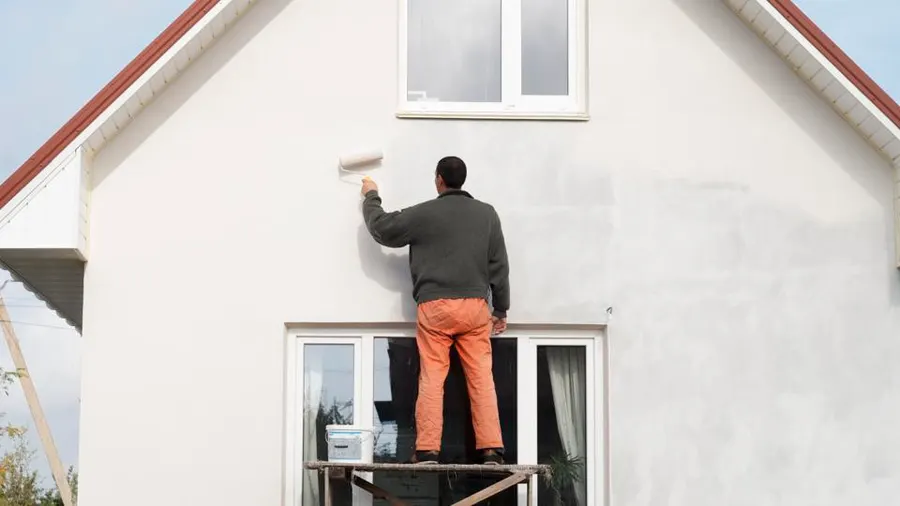
Step 6: Prime the Surface
Applying primer is a crucial step for both interior and exterior painting projects, especially if you’re painting over dark colors, raw surfaces, or stains. Primer creates a smooth, even base that allows the paint to adhere properly and ensures better coverage. It also helps to block any stains or discolorations from bleeding through the final coat of paint.
Applying primer is a crucial step for both interior and exterior painting projects, especially if you’re painting over dark colors, raw surfaces, or stains. Primer creates a smooth, even base that allows the paint to adhere properly and ensures better coverage. It also helps to block any stains or discolorations from bleeding through the final coat of paint.